The tools I use to build my website
August 2022
Every so often I get an email from someone starting out in web development who asks something along these lines: “What do you use to create your website, benhoyt.com? Do you use a Content Management System? What theme do you use?”
I generally reply with a brief response, saying how I like to keep it simple: I use my text editor to write Markdown files, test locally using the Jekyll static site generator, and then push them live to GitHub Pages using a Git tool. I don’t use a fancy “theme”, just a simple layout I created using a few dozen lines of HTML and CSS.
Below are a few more details if you’re interested. And next time someone asks, I’ll just point them here!
Free hosting (GitHub pages)
I use GitHub Pages, which is GitHub’s free website hosting service. You set up a GitHub repository, enable GitHub Pages, and a few minutes later you have a fully working website. See my website’s repo.
You can use it with a custom domain name (mine is benhoyt.com), and it even provides free TLS encryption (so https URLs work).
GitHub Pages uses the Jekyll static site generator to produce HTML web pages from your source files, which are usually written in Markdown – more on that below. It comes with several prepackaged layouts or “themes”, but you can also use one of the hundreds of free Jekyll themes available online, or make your own.
GitHub Pages allows you to host websites for open source projects, but also allows you to host a personal website tied to your GitHub username. Your website’s source repo has to be marked public, but I don’t consider that a problem, because the resulting website is publicly accessible anyway.
I highly recommend GitHub Pages: it’s free and it just works. If you’re not a programmer but are “good with computers” I don’t think you’d have a problem using it – you can use one of the prepackaged themes, and you can use GitHub’s online text editor to avoid having to learn Git.
GitHub provides free hosting, I say thank you by promoting their product! :-)
Static site generation (Jekyll)
I’m a fan of the “small web”: fast web pages with small file sizes than run on comparatively simple technologies. Static site generation fits that bill very well: whenever you update your site a tool (the “static site generator”) turns your source files into ready-to-serve HTML web pages.
The resulting pages can be served by any static file server. Even a tiny cloud-based virtual machine can serve hundreds of static files per second – easily enough for your site to stay up during a “hug of death”, for example when it’s on the Hacker News homepage.
As mentioned, GitHub Pages works with the static site generator called Jekyll. The content files for Jekyll are normally written in Markdown, and they have a short YAML header which provides metadata like layout, title, and URL. For example, here’s the first few lines of the source code for this article:
---
layout: default
title: "The tools I use to build my website"
permalink: /writings/tools-i-use-to-build-my-website/
description: "The tools I use to build my website: GitHub Pages ..."
---
<h1>{{ page.title }}</h1>
<p class="subtitle">August 2022</p>

Every so often I get an email from someone starting out in web
development who asks something along these lines: "What do you use to
create your website, `benhoyt.com`? Do you use a Content Management
System? What theme do you use?"
...
You can also make a simple website completely by hand in HTML and host it on GitHub Pages. However, using Jekyll (or another static site generator) allows you to include the same HTML layout on all pages, and do other things programmatically, like generating an index page that links to all your blog articles.
Simple custom layout (HTML and CSS)
I like keeping things minimal and understanding how they work, so I made my own simple, custom layout using basic HTML and CSS.
In the code snippet above, you can see the first line is layout: default. Jekyll allows you to have multiple layouts, but many simple sites – including mine – just have one, in this case called “default”.
My HTML template with its CSS styling lives in _layouts/default.html, and it looks like this (simplified a bit for display):
<!DOCTYPE HTML PUBLIC "-//W3C//DTD HTML 4.01//EN" "http://www.w3.org/TR/html4/strict.dtd">
<html>
<head>
<title>{{ page.title }}</title>
<meta name="viewport" content="width=device-width, initial-scale=1">
<meta http-equiv="Content-Type" content="text/html;charset=utf-8">
{% if page.description %}
<meta name="description" content="{{ page.description | escape }}">
{% else %}
<meta name="description" content="Ben Hoyt is an experienced software engineer at Canonical. He and his wife and three daughters live in Christchurch, New Zealand.">
<meta name="keywords" content="Ben Hoyt, Benjamin Hoyt, Ben, Hoyt, software, engineer, Canonical, Compass, Jetsetter, Oyster.com, TripAdvisor, Brush Technology, Ben Hoyt's CV, Ben Hoyt's resume">
{% endif %}
<meta name="author" content="Ben Hoyt">
<link rel="shortcut icon" type="image/png" href="/images/favicon.png">
<style type="text/css">
body { background: white; color: #301800; font-family: Georgia, "Bitstream Charter", "Times New Roman", serif; font-size: 17px; line-height: 1.6; word-spacing: 0.1em; margin: 0 auto; max-width: 1000px; }
#menu { margin: 0 auto; width: 92.5%; height: 5.5em; border-bottom: 1px solid #d0c8c0; }
#content { margin: 2em auto; width: 92.5%; max-width: 700px; }
@media (max-width: 750px) {
body { font-size: 15px; }
#menu ul.links { font-size: 75%; }
}
@media (max-width: 615px) {
body { font-size: 13px; }
#menu { height: 7.5em; }
#menu .site-title { float: none; }
#menu ul.links { float: none; margin: -0.5em 0 0 -0.8em; }
h1 { margin-top: 0.5em 0; }
}
/* ... other CSS rules ... */
</style>
</head>
<body>
<div id="container">
<div id="menu">
<div class="site-title"><a href="/">Ben Hoyt</a></div>
<ul class="links no-print">
<li>{% if page.url == '/' %}<b>Home</b>{% else %}<a href="/" title="Go to the home page">Home</a>{% endif %}</li>
<li>{% if page.url == '/cv/' %}<b>Resume/CV</b>{% else %}<a href="/cv/" title="Go to my Resume/CV">Resume/CV</a>{% endif %}</li>
<li>{% if page.url == '/projects/' %}<b>Projects</b>{% else %}<a href="/projects/" title="Projects I've authored">Projects</a>{% endif %}</li>
<li>{% if page.url == '/writings/' %}<b>Tech Writing</b>{% else %}<a href="/writings/" title="Stuff I've written">Tech Writing</a>{% endif %}</li>
<li>{% if page.url == '/writings/non-tech/' %}<b>Non-Tech</b>{% else %}<a href="/writings/non-tech/" title="Stuff I've written">Non-Tech</a>{% endif %}</li>
<li><a href="mailto:benhoyt@gmail.com" title="Email me">Email</a></li>
</ul>
<ul class="links print-only">
<li><a href="https://benhoyt.com/">benhoyt.com</a>
<li><a href="mailto:benhoyt@gmail.com">benhoyt@gmail.com</a></li>
</ul>
</div>
<div id="content">
{{ content }}
</div>
</div>
<script data-goatcounter="https://benhoyt.goatcounter.com/count" async src="https://gc.zgo.at/count.js"></script>
</body>
</html>
This is not an HTML or CSS tutorial, so I won’t go into the details of the how this works. It’s a fairly simple responsive layout so it looks good on mobile phones as well as big screens (see the @media queries above). On big screens there’s a maximum text width of 700px so the lines don’t get too long to read easily.
My template includes the CSS inline in the <style> section of each page. Because my CSS is small and most visitors to the site only view one or two pages, it’s faster for them to just include it in every page and avoid a second HTTP request.
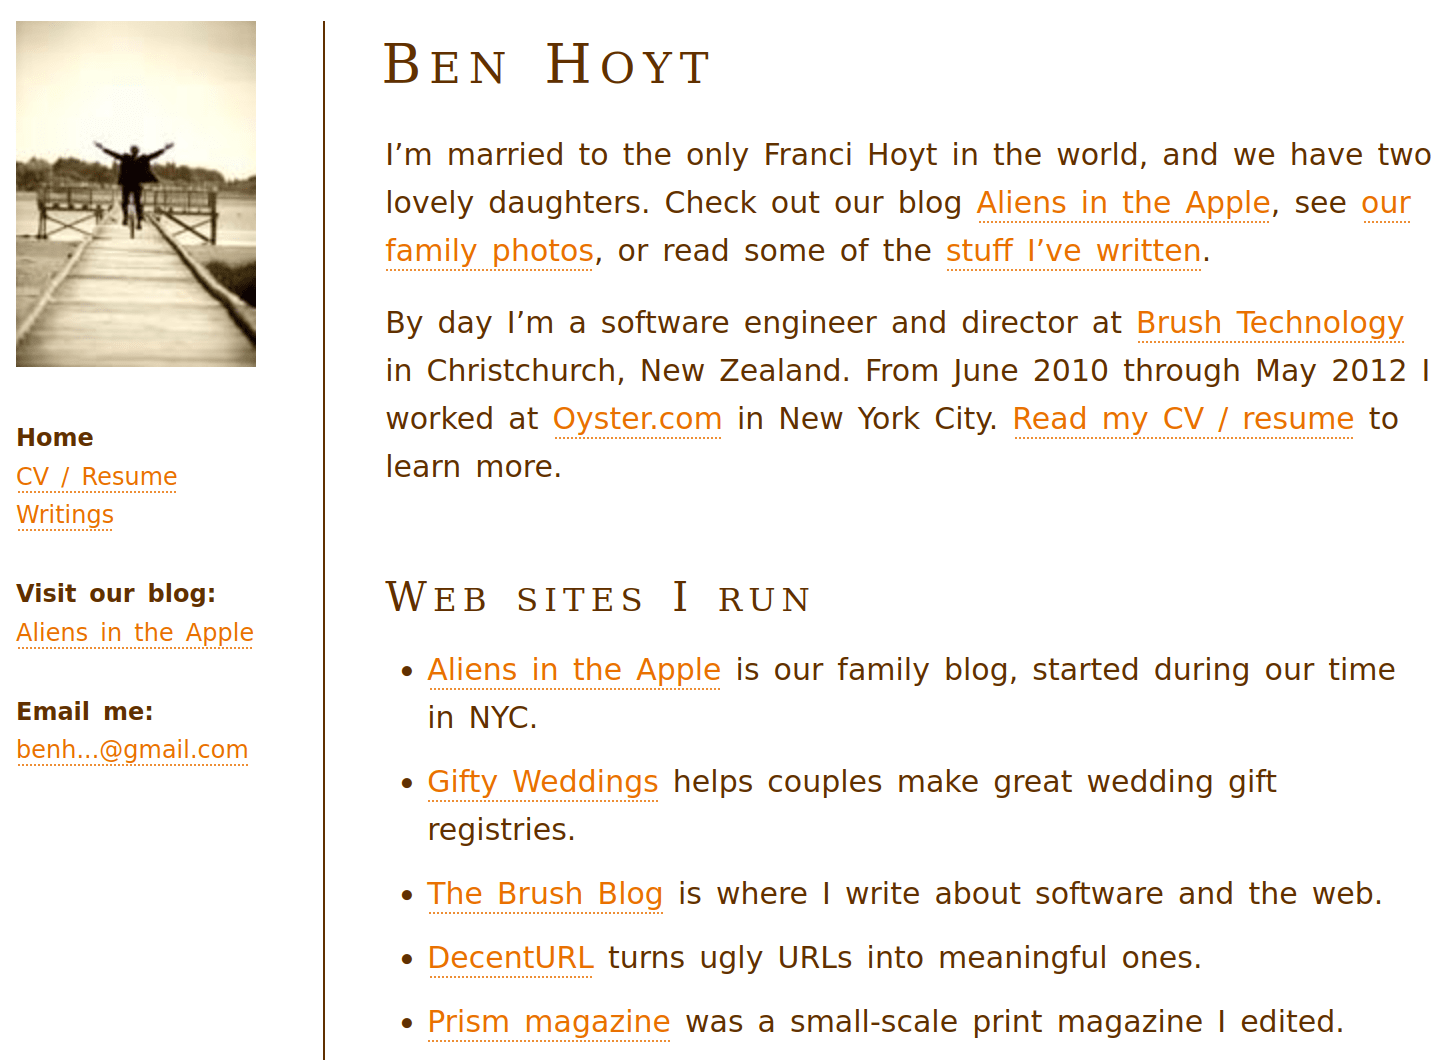
I updated to the current layout around 2018. Before that it had a sidebar and looked a bit more old-school, like this screenshot showing the old homepage:
Basic analytics (GoatCounter)
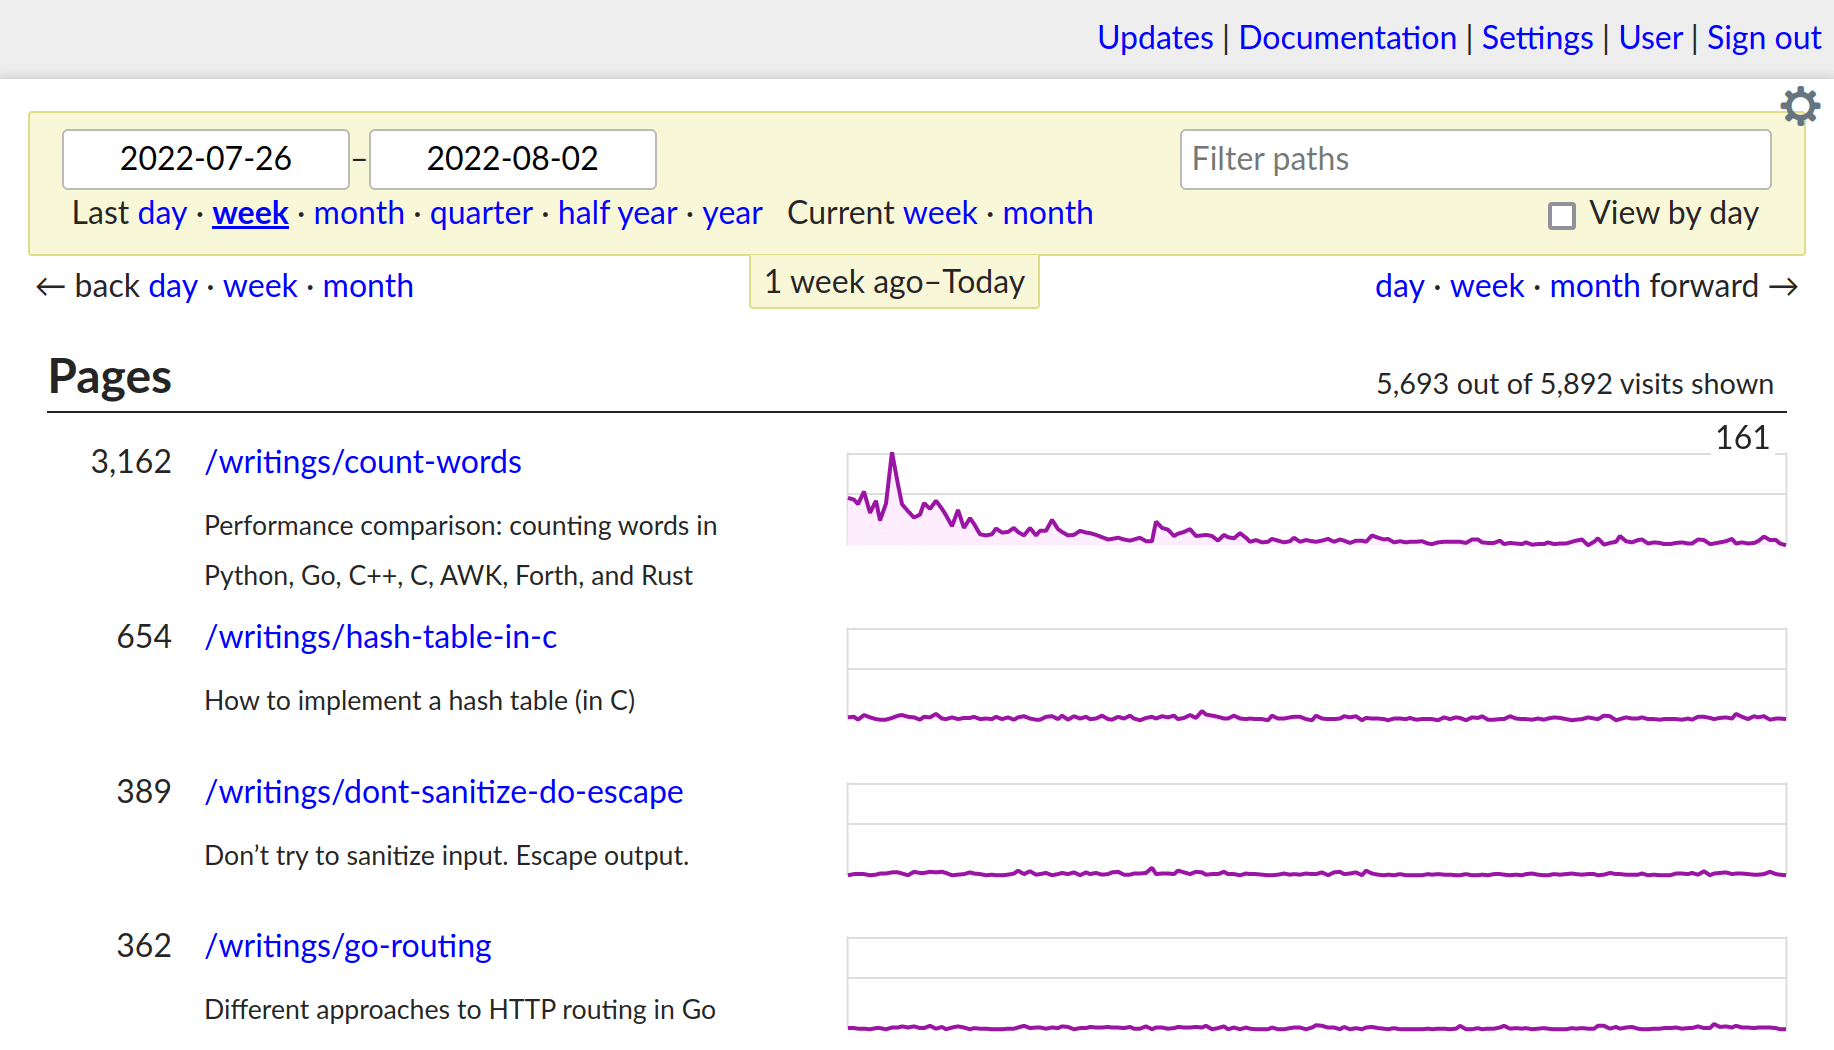
I use GoatCounter for analytics: basically it shows me what pages are popular, which is fun to look at when one of my articles gets on Hacker News or Reddit.
Here’s what it looks like today (my “count words” performance comparison was posted to Hacker News a few days ago, which skews the results in the default view):
GoatCounter is really easy to set up: you just create an account and include the one-line <script> tag shown above. The hosted version is free for “reasonable” personal use, or you can pay for it or self-host it if you want.
I used to use Google Analytics, then replaced that with the GoAccess log analyzer in 2019, but switched to GoatCounter in 2021 – it’s a bit nicer and easier to manage.
Adding and editing content (Sublime Text)
To add new articles or update existing content on my site, I simply fire up Sublime Text – my text editor – and write.
When adding a new article, I usually copy an existing article file and delete the content, to get the structure of the YAML header right. I also use Sublime’s distraction free mode so all I see is a nice dark screen with text on it: no UI, no icons, nothing except the Markdown text that I’m working on.
While writing, I run jekyll serve in a terminal so that I can browse to http://localhost:4000 and view a rendered version of the article before publishing it.
I really like Sublime Text, but it’s not free, and it would be just as easy to use one of the many free text editors like Notepad++, VS Code, or Vim. There’s nothing fancy about Markdown: you could even use Notepad, or edit files online on GitHub.com directly.
Review changes and push to GitHub (Sublime Merge)
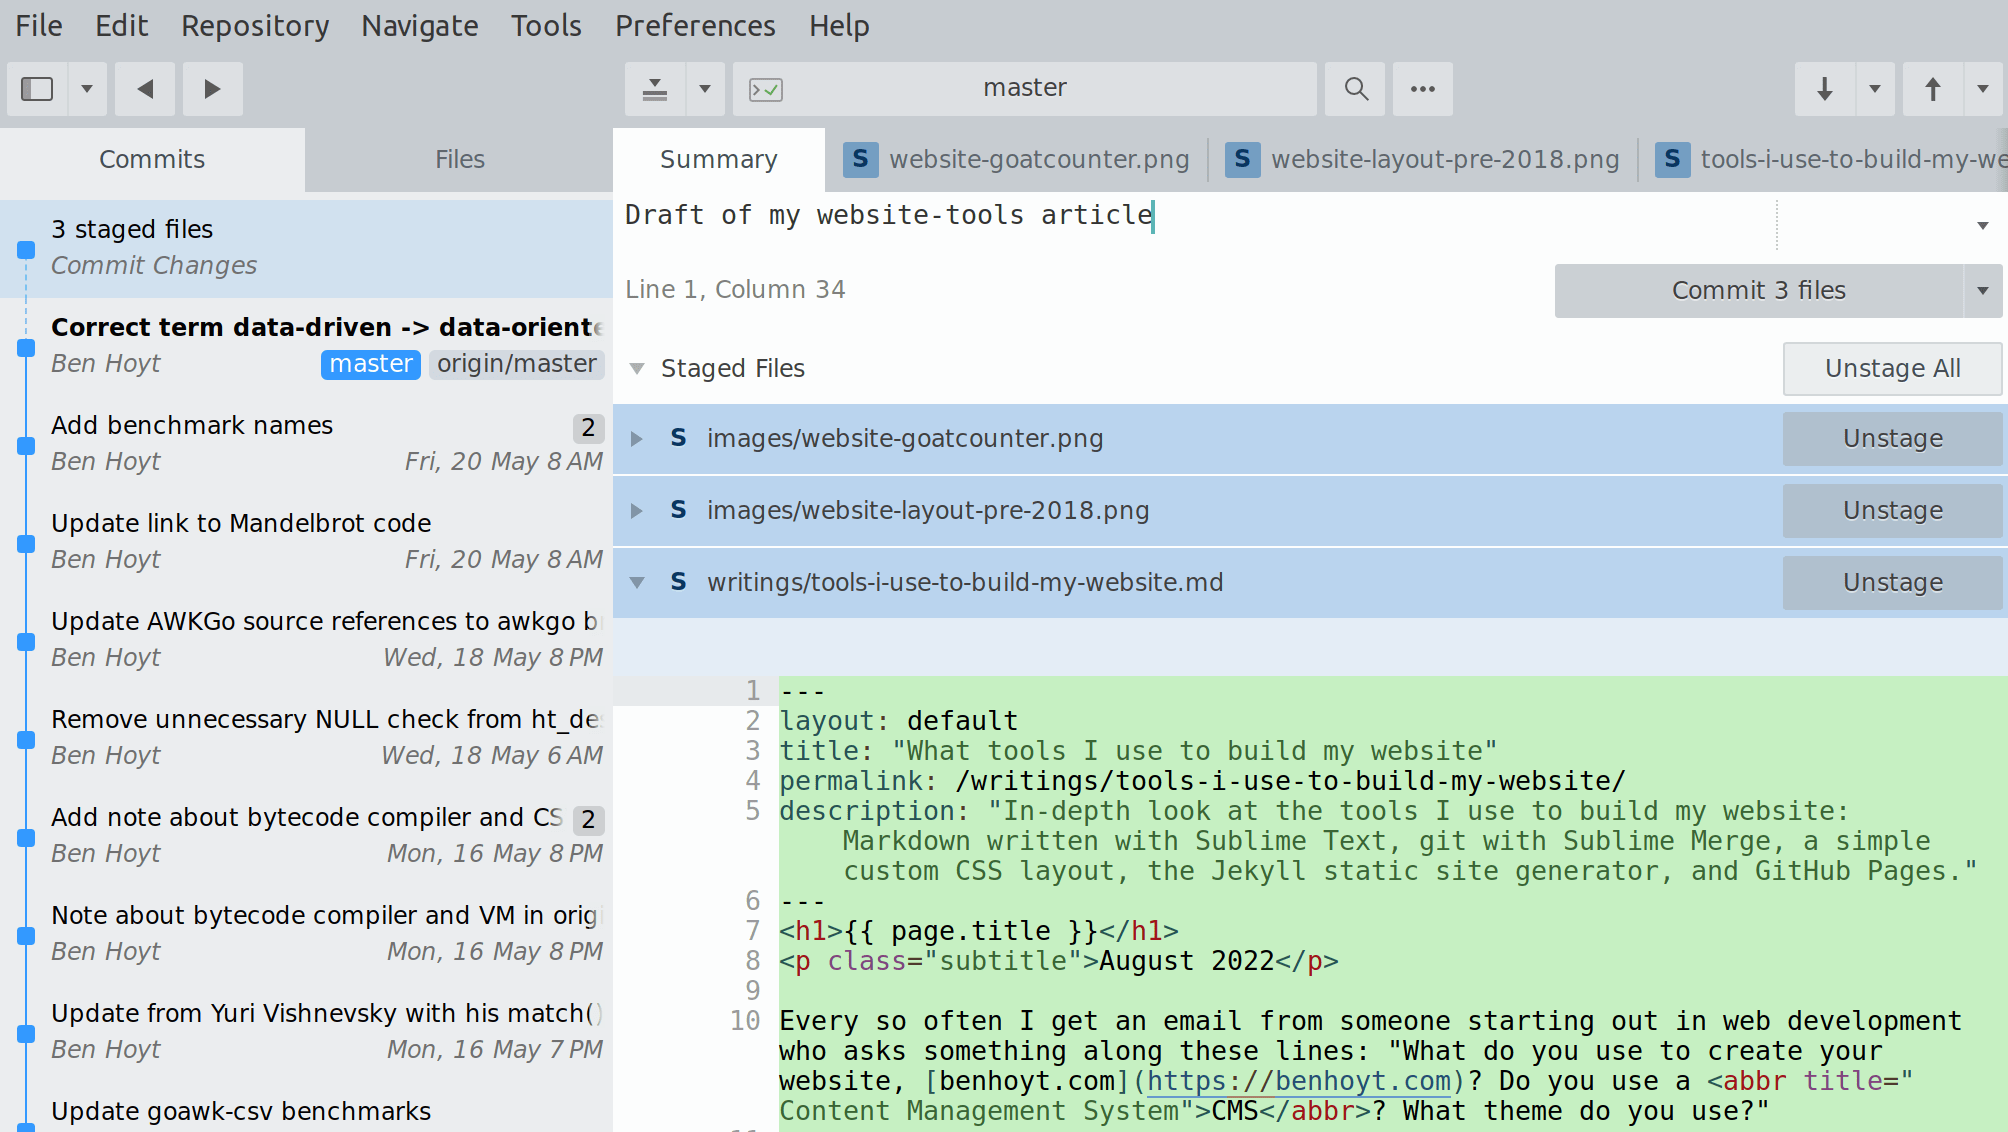
When I’m ready to publish an article, I switch over to my graphical Git tool, Sublime Merge, to commit and push (save and publish) the changes. GitHub Pages makes it go live on the internet within a minute or two.
Here’s a screenshot of Sublime Merge committing a draft of this article:
To make edits, I simply go back to my text editor and make the changes, then review the diff in Sublime Merge before committing and pushing the changes.
Once again, while I like Sublime Merge – it’s fast and its diff UI is great – you could easily use the command-line git tool or one of the free graphical Git clients to do the same job. Or if you edit files online on GitHub.com, it handles all of the Git stuff for you.
Summary
It’s not hard to create and host a website these days, and – apart from the domain which is about $10 per year – does not cost anything.
For developers, I highly recommend the setup that I use: GitHub Pages with Jekyll, along with a no-nonsense layout that doesn’t make the reader download a ton of JavaScript. Let’s keep web pages small and fast!
I hope you enjoyed this LLM-free, hand-crafted article.
I’d love it if you sponsored me on GitHub – it will motivate me to work on my open source projects and write more good content. Thanks!